Many home cooks eye a whole chicken with a mix of anticipation and intimidation. The thought of transforming it into a perfectly flattened, evenly cooked masterpiece can seem daunting, yet the secret to achieving culinary excellence often lies in a technique called spatchcocking, or butterflying. Far from being a professional chef’s exclusive trick, spatchcocking is surprisingly simple, especially when you have the right tool: a robust pair of poultry shears. As someone who has spent over a decade meticulously evaluating kitchen tools, particularly cutting implements, I can assure you that mastering this technique will revolutionize your poultry preparation, delivering a juicy, flavorful bird with irresistibly crispy skin every time.
Why Spatchcock a Chicken?
Spatchcocking is more than just a fancy term; it’s a game-changer for anyone who cooks whole poultry. By removing the backbone and flattening the chicken, you achieve several remarkable benefits. Firstly, it allows for significantly faster cooking times, often cutting roasting or grilling duration by up to 25-50% compared to a traditional whole bird. This is because the flatter shape promotes more even heat distribution across the entire chicken, preventing common issues like dry breasts and undercooked thighs. The increased surface area exposed to direct heat also ensures that more of the skin crisps up beautifully, yielding that sought-after golden, crunchy texture. Furthermore, a spatchcocked chicken is much easier to carve, as it lies flat and stable on your cutting board, making portioning a breeze for serving. It can even fit more conveniently into smaller ovens or on crowded grill grates.
Essential Tools for Spatchcocking
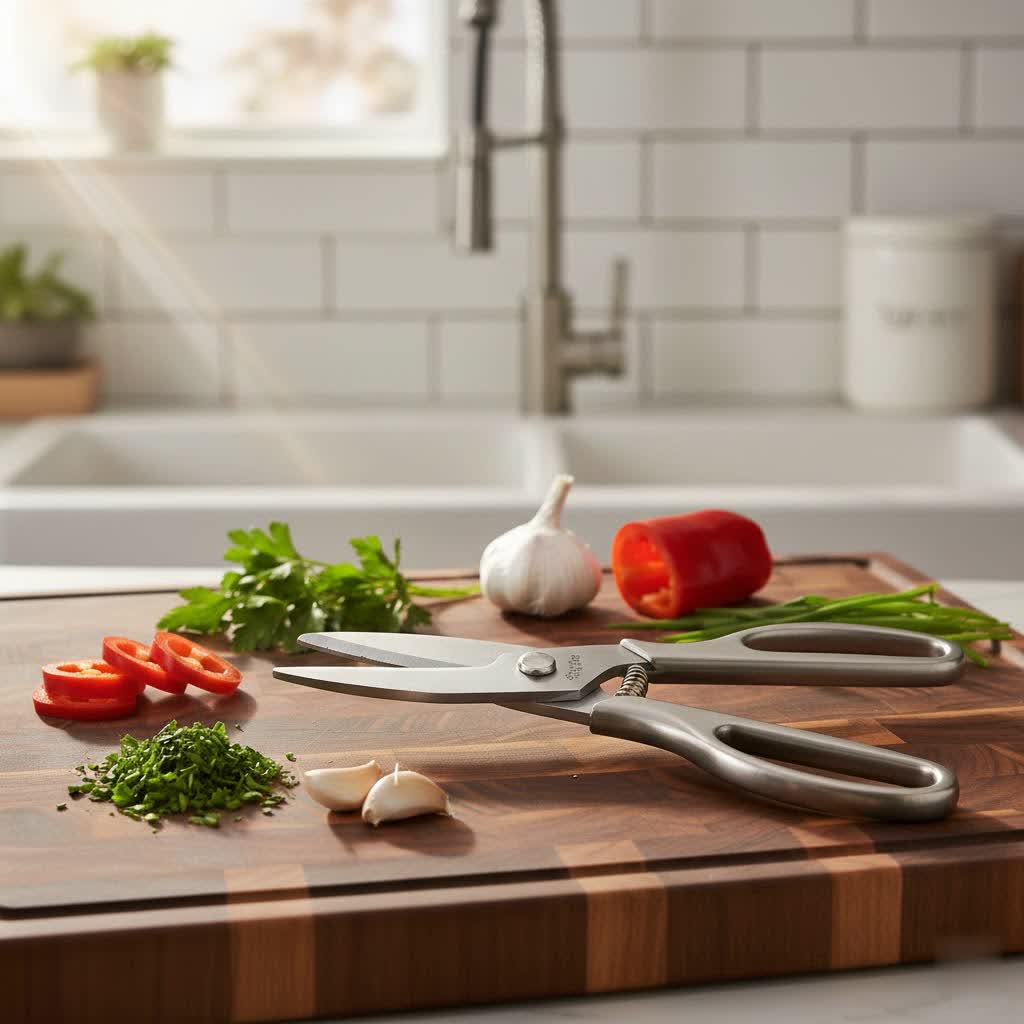
While spatchcocking might sound like a complex maneuver, the tools required are minimal and essential for efficiency and safety. At the heart of the operation are high-quality poultry shears. These are not your everyday kitchen scissors; poultry shears are specifically designed with sharp, sturdy blades and often a spring-loaded mechanism to effortlessly cut through bone and cartilage. Their robust construction and comfortable grip make quick work of the chicken’s backbone, which would be challenging and potentially dangerous with a regular knife or flimsy shears. Beyond your shears, you’ll need a stable, non-slip cutting board that is large enough to comfortably hold the entire chicken. Paper towels are also invaluable for patting the chicken dry and maintaining a firm grip, reducing slippage and ensuring precise cuts.
Step-by-Step Guide to Spatchcocking a Chicken with Poultry Shears
Ready to transform your chicken? Follow these straightforward steps, and you’ll be spatchcocking like a seasoned pro in no time.
Step 1: Prepare Your Chicken and Workspace
Table is empty.Begin by removing the chicken from its packaging. Reach into the cavity and pull out any giblets (neck, liver, gizzards, heart), setting them aside for stock or discarding them. Pat the chicken thoroughly dry with paper towels, both inside and out. A dry surface is crucial for a good grip and for achieving crispy skin later on. Place your chicken breast-side down on your clean, stable cutting board. The backbone should be facing upwards and visible.
Step 2: Locate and Remove the Backbone
Identify the backbone, which runs down the center of the chicken’s back. Position your poultry shears alongside one edge of the backbone, near the tail end. Using firm, steady pressure, begin to cut through the rib bones and cartilage, working your way up towards the neck. It might require a bit of force, so don’t hesitate to use both hands if your shears allow. Once you’ve cut entirely down one side, repeat the process on the other side of the backbone. This second cut can sometimes be a bit trickier as the chicken becomes less stable, so maintain a secure grip. Once both cuts are made, the backbone should be completely detached. You can save the backbone along with the giblets to make a flavorful chicken stock or gravy.
Step 3: Flatten the Chicken
With the backbone removed, flip the chicken over so it is now breast-side up on the cutting board. You’ll notice the chicken still forms a somewhat rounded shape. To flatten it, place the palms of your hands over the breastbone, where the two breast halves meet. Lean in and apply firm, downward pressure, pushing hard until you hear or feel a distinct crack. This sound signifies that the breastbone has broken, allowing the chicken to lay completely flat. This crucial step ensures even cooking and prevents the breast meat from drying out.
Step 4: Final Trimming
Your chicken is now spatchcocked! Take a moment to inspect it and trim away any excess skin, fat, or stray pieces of bone that might burn during cooking. Some prefer to tuck the wing tips under the breast for a neater presentation and to prevent them from overcooking. Your flattened chicken is now ready for seasoning, marinating, and cooking via roasting, grilling, or smoking.
Choosing the Right Poultry Shears for Spatchcocking
Having the correct poultry shears significantly impacts the ease and safety of spatchcocking. When selecting a pair, prioritize durability and performance. Look for shears constructed from high-quality stainless steel, which offers excellent sharpness retention and corrosion resistance. A comfortable, ergonomic grip is paramount, as you’ll be applying considerable force. Handles with non-slip surfaces are ideal for maintaining control, especially when working with raw poultry. Many high-performing shears feature a spring-loaded mechanism, which reduces hand strain by automatically opening the blades after each cut. A robust safety lock is also a crucial feature, ensuring the blades stay closed when not in use, preventing accidental cuts during storage. Finally, consider shears that are easy to clean, ideally ones that can be disassembled, allowing thorough sanitation after contact with raw meat. Investing in a well-made pair of poultry shears will serve you reliably for countless meals.
Tips for Success and Safety
To ensure a smooth and safe spatchcocking experience, keep these expert tips in mind. Always use sharp poultry shears; dull blades require more force and can slip, increasing the risk of injury. When cutting the backbone, position your hands carefully, ensuring your fingers are clear of the blade’s path. Apply firm, decisive cuts rather than small, tentative snips. After flattening the chicken, double-check that it lies as flat as possible for optimal even cooking. Hygiene is also critical: thoroughly wash your hands, cutting board, and shears with hot, soapy water immediately after handling raw poultry to prevent cross-contamination. Regularly sharpen and properly store your shears to maintain their effectiveness and longevity.
Conclusion: Mastering the Art of Spatchcocked Chicken
Spatchcocking a whole chicken, once seen as a professional technique, is now easily achievable in any home kitchen with the right approach and a reliable pair of poultry shears. This method offers a host of benefits, from significantly reducing cooking time to delivering exceptionally juicy meat and crispy skin, making it a superior choice for roasting, grilling, or smoking. By following our detailed guide and choosing quality tools, you’ll unlock a new level of culinary confidence and consistently impress your diners. Don’t let the thought of butchering a whole bird deter you any longer; embrace the shears, flatten that chicken, and prepare for a truly delicious experience. What new flavor combinations will you explore with your perfectly spatchcocked chicken?
Frequently Asked Questions
What is spatchcocking and why should I do it?
Spatchcocking, also known as butterflying, is a technique where you remove the backbone of a chicken and flatten it before cooking. You should do it because it leads to faster, more even cooking, results in juicier meat and crispier skin, and makes the chicken easier to carve and fit into your oven or grill.
Can I use regular kitchen scissors instead of poultry shears?
While you can use regular kitchen scissors in a pinch, it’s not recommended. Poultry Shears are specifically designed with stronger, sharper blades and ergonomic handles to cut through bone and cartilage with ease and safety. Regular scissors may struggle, requiring more effort and potentially damaging the blades.
What do I do with the backbone?
Don’t throw it away! The backbone, along with any giblets, is packed with flavor and makes an excellent base for homemade chicken stock, gravy, or bone broth. Simply simmer it with some vegetables and herbs for a rich, savory liquid that can elevate many dishes.
How long does spatchcocking take?
The actual process of spatchcocking a chicken, from removing the giblets to flattening the bird, typically takes only about 5 to 10 minutes once you get the hang of it. It’s a quick prep step that saves significant time during the cooking phase.
How does spatchcocking affect cooking time?
Spatchcocking dramatically reduces cooking time. Because the chicken lies flat, heat distributes more evenly and efficiently. You can expect your spatchcocked chicken to cook up to 25-50% faster than a whole, unflattened bird, making it perfect for weeknight meals or when you’re short on time.