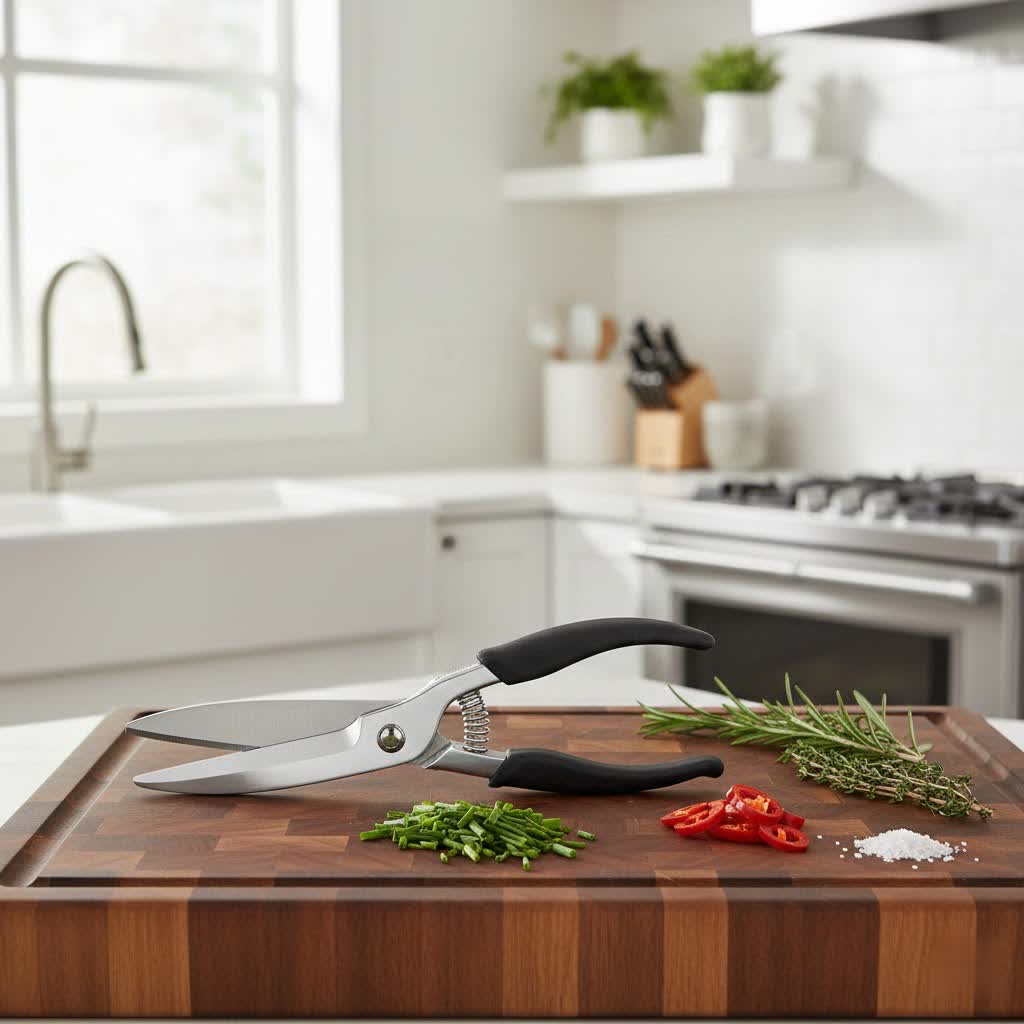
There’s nothing quite as frustrating as reaching for your trusted poultry shears, only to find the spring has given out. That satisfying snap and effortless action are gone, replaced by a cumbersome tool that leaves your hands aching and your kitchen tasks feeling like a chore. Don’t despair or toss those otherwise perfectly good shears into the bin just yet! Replacing the spring in your poultry shears is a surprisingly simple and cost-effective fix that can breathe new life into your essential kitchen gadget.
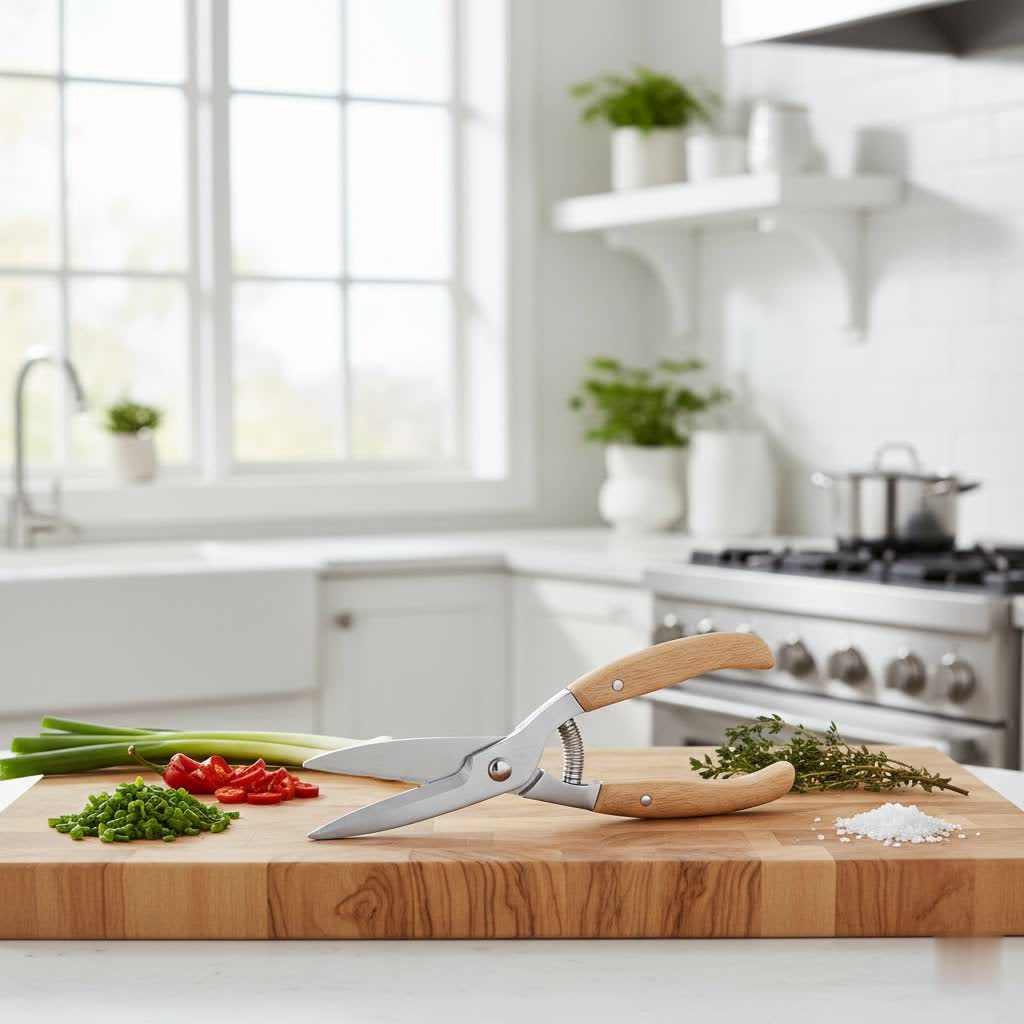
This guide will walk you through everything you need to know, from understanding why springs fail to a straightforward, step-by-step process for replacement. You’ll learn how to identify the right spring, what minimal tools you might need, and how to get your shears back to effortlessly tackling chickens, turkeys, and more. Get ready to reclaim your kitchen efficiency and extend the life of your favorite tools with this easy DIY repair.
Why Your Poultry Shears Need a New Spring
Poultry shears are designed for heavy-duty work, slicing through bone, skin, and cartilage with precision. The spring mechanism is crucial to their ergonomic function, providing the automatic rebound that reduces hand fatigue and makes repetitive cutting tasks much easier. Over time, however, even the best springs can wear out, stretch, or simply snap under the strain of continuous use. When this happens, your shears lose their vital spring action, transforming them from a high-performance tool into an unwieldy pair of scissors.
Replacing a broken or worn-out spring isn’t just about restoring functionality; it’s a smart choice for your wallet and the environment. Instead of purchasing an entirely new pair of shears, often costing significantly more, a replacement spring offers a budget-friendly alternative. This small repair also contributes to reducing waste, keeping perfectly good tools out of landfills and supporting a more sustainable approach to kitchenware. Many springs are built to last for several years, typically between three to five, making a simple replacement a valuable investment in your tool’s longevity.
Identifying the Right Replacement Spring
Before you can fix your shears, you need the correct replacement spring. While many poultry shears feature a visible, removable spring, not all are identical. Compatibility is key, so understanding the common specifications can help you find the right fit.
Most standard poultry and heavy-duty kitchen shears use a common spring size. Look for springs with a 1.8mm wire diameter, a 15mm outer diameter (OD), and often a 12mm inner diameter with a 3mm angular length. These dimensions ensure the spring fits properly within the shear’s mechanism, providing the correct tension for smooth operation. Furthermore, the material matters. Replacement springs are typically made from nickel-plated steel, which helps prevent rust and corrosion, ensuring durability in a kitchen environment.
While generic replacement springs are widely available and fit many models, some specific brands like Mundial offer genuine replacement parts tailored to their shears, often with unique model numbers. If you know the brand and model of your shears, checking for a brand-specific replacement might be an option. However, for most common shears, matching the dimensions is usually sufficient.
“Many people don’t realize how simple and affordable it is to replace a spring. It’s often the difference between extending the life of a quality tool and needlessly buying a new one.”
Tools You’ll Need
Replacing the spring in your poultry shears is generally a straightforward process that requires minimal tools. In most cases, you won’t need anything specialized.
Here’s what to gather:
- New Replacement Spring: Ensure it matches the dimensions of your old spring or is a universal fit for poultry shears.
- Pliers (Optional): While often not strictly necessary, a pair of needle-nose or standard pliers can be incredibly helpful for gripping a stubborn old spring or carefully seating the new one.
- Clean Cloth: Useful for wiping down the shears and ensuring no grime interferes with the new spring’s placement.
For most standard designs, the process is largely tool-free, making it an accessible DIY project for anyone.
Step-by-Step Guide to Replacing Your Poultry Shear Spring
Bringing your poultry shears back to full functionality is simpler than you might think. Follow these steps for a quick and effective spring replacement.
1. Safety First
|
Our Picks for the Best Poultry shears in 2026
As an Amazon Associate I earn from qualifying purchases.
|
||
| Num | Product | Action |
|---|---|---|
| 1 | HENCKELS Kitchen Shears for Poultry, Dishwasher Safe, Heavy Duty, Stainless Steel 4-Inch |

|
| 2 | MAD SHARK Professional Heavy Duty Poultry Shears - Kitchen Shears for Spatchcocking Chicken and Meat Cutting, Multi-Purpose Kitchen Scissors for Food, Spring-loaded (Red) |
|
| 3 | Poultry Shears, Heavy Duty Kitchen Shears With Anti-Slip Handle & Safety Lock, Poultry Scissors for Meat, Chicken, Bone,Turkey, Fish, Spring Loaded, Dishwasher Safe |
|
| 4 | DRAGON RIOT Heavy Duty Poultry Shears - A Must Have Kitchen Shears for Chicken and Meat Cutting - Dishwasher Safe and Stainless Food Kitchen Scissors for Thanksgiving |
|
| 5 | OXO Good Grips Spring-Loaded Poultry Shears, Black |
|
| 6 | WÜSTHOF Come Apart Kitchen Shears |
|
| 7 | KitchenAid All Purpose Kitchen Shears with Protective Sheath Durable Stainless Steel Scissors, Dishwasher Safe, Soft Grip Comfort Handle, 8.72 Inch, Black |
|
| 8 | HUUSK Kitchen Scissors All Purpose - Stainless Steel Kitchen Shear, Sharp Silver Meat Scissors Dishwasher Safe, Heavy Duty Poultry Shears, Japanese Cooking Scissor for Food, Christmas Gifts for Women |
|
| 9 | Poultry Shears – Heavy Duty Kitchen Shears & Multipurpose Kitchen Scissors for Meat, Chicken, Fish & Vegetables, High Carbon Stainless Steel, Safety Lock, Dishwasher Safe |
|
| 10 | Gisde Heavy Duty Poultry Shears Kitchen Shears for Food Kitchen Scissors All Ppurpose Heavy Duty Scissors for Chicken, Meat, Bone, Poultry, Spring Loaded, Dishwasher Safe |
|
Before you begin, ensure your shears are clean and, if they have a locking mechanism, keep them locked to prevent accidental injury while you work. Always handle the blades with care.
2. Examine the Old Spring
Carefully inspect your shears to locate the broken or worn spring. Most poultry shears feature a visible coil spring positioned between the handles, often near the pivot point. Take a moment to observe how the old spring is seated and oriented. This will help you correctly position the new one.
3. Remove the Old Spring
Gently pry out the old spring. In many cases, it will simply pop out once you apply a little pressure. If the spring is stubbornly stuck or broken into pieces, you may use a pair of pliers to grasp and remove any remaining fragments. Take care not to scratch the shear handles.
4. Clean the Shears
Once the old spring is removed, use a clean cloth to wipe down the area where the spring sits. Remove any accumulated food debris, grease, or grime that could hinder the smooth operation of the new spring. A clean surface ensures a better fit and extends the life of your new component.
5. Insert the New Spring
Carefully align the new replacement spring with the designated slots or indentations on your shears. Gently push or snap the new spring into place. You might need to compress the spring slightly to fit it into its housing. Ensure it sits securely and is properly seated, mirroring the orientation of the original spring you observed earlier.
6. Test the Shears
Once the new spring is in place, unlock your shears (if applicable) and gently open and close them several times. The action should feel smooth and responsive, with the spring providing a consistent rebound after each cut. If the action feels off, re-examine the spring’s placement to ensure it’s not crooked or partially dislodged.
Tips for Maintaining Your Poultry Shears
A new spring will restore your shears, but proper maintenance will help prevent future issues and keep them performing their best.
- Regular Cleaning: Always wash your shears thoroughly after each use, especially after cutting raw poultry. Remove all food particles and grease. Many shears are designed to come apart for easier cleaning, which can be particularly helpful [cite: 1, 5 (from prior search, not browsed)].
- Thorough Drying: After washing, dry your shears completely with a towel. Moisture can lead to rust, even on stainless steel, and compromise the spring over time.
- Proper Storage: Store your poultry shears in a safe, dry place, ideally with the blades locked to prevent accidental injury. A magnetic strip, knife block, or drawer organizer can keep them protected.
- Avoid Forcing Cuts: While poultry shears are heavy-duty, avoid using excessive force or cutting through extremely thick bones that are beyond their capacity. This can stress the blades and the spring mechanism.
- Check the Spring Regularly: Periodically inspect the spring for any signs of wear, stretching, or corrosion. Early detection of issues can allow for timely replacement before it impacts performance significantly.
Conclusion: Renewing Your Kitchen Essential
Replacing the spring in your poultry shears is a straightforward, budget-friendly repair that can significantly extend the life of a valuable kitchen tool. By taking a few minutes to swap out a worn or broken spring, you not only restore the effortless cutting action you rely on but also make a conscious choice to reduce waste and get more value from your existing equipment. It’s a small DIY task that delivers big rewards, bringing your shears back to peak performance for all your culinary needs.
So, the next time your poultry shears lose their bounce, will you reach for a new pair, or empower yourself with a simple, effective repair?
Frequently Asked Questions
How often do poultry shear springs typically need to be replaced?
The lifespan of a poultry shear spring can vary depending on usage frequency, material quality, and how well the shears are maintained. However, many springs are designed to last between three to five years before showing significant wear or breakage, though some may last longer or shorter depending on use [cite: 4 (from prior search, not browsed)].
Can I use any spring I find as a replacement for my poultry shears?
No, it’s crucial to use a spring that matches the dimensions and tension of the original. Using a spring that is too large, too small, or has incorrect tension can prevent the shears from functioning properly, cause damage, or even pose a safety risk. Look for replacement springs with standard dimensions like 1.8mm wire diameter and 15mm outer diameter, or a specific replacement part for your shear model.
What if my poultry shears don’t have a visible spring to replace?
Some poultry shears may use an internal torsion spring or a different pivot mechanism that isn’t easily replaceable by the user. If your shears don’t have a clearly visible, accessible coil spring between the handles, replacing the spring might not be a DIY option. In such cases, you might consider contacting the manufacturer for repair options or looking into a new pair if the spring function is critical.