Even the most professional technician understands the frustration of a trusty pair of shears losing its edge, not in sharpness, but in stability. A wobbly, loose shear doesn’t just make precise cuts a challenge; it can compromise safety and damage the material you’re working with. Whether you rely on them for culinary tasks, gardening, or intricate crafts, maintaining optimal tension in your shears is paramount for peak performance and longevity. This guide will walk you through the simple yet crucial steps to bring your loose shears back to their precise best.
Why Do Shears Become Loose?
|
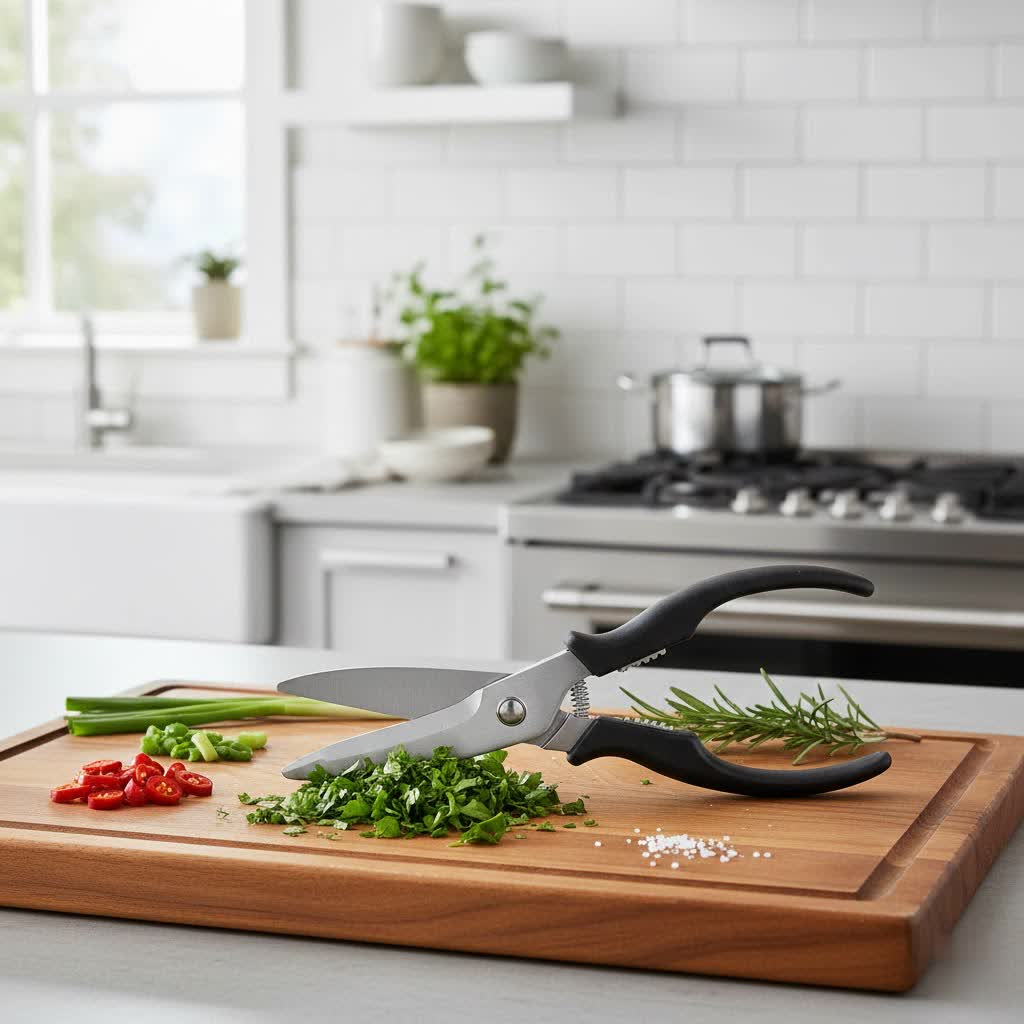
Our Picks for the Best Poultry shears in 2026
As an Amazon Associate I earn from qualifying purchases.
|
||
| Num | Product | Action |
|---|---|---|
| 1 | OXO Good Grips Spring-Loaded Poultry Shears, Black |

|
| 2 | KitchenAid All Purpose Kitchen Shears with Protective Sheath Durable Stainless Steel Scissors, Dishwasher Safe, Soft Grip Comfort Handle, 8.72 Inch, Black |
|
| 3 | Poultry Shears, Heavy Duty Kitchen Shears With Anti-Slip Handle & Safety Lock, Poultry Scissors for Meat, Chicken, Bone,Turkey, Fish, Spring Loaded, Dishwasher Safe |
|
| 4 | HUUSK Kitchen Scissors All Purpose - Stainless Steel Kitchen Shear, Sharp Silver Meat Scissors Dishwasher Safe, Heavy Duty Poultry Shears, Japanese Cooking Scissor for Food, Christmas Gifts for Women |
|
| 5 | Poultry Shears – Heavy Duty Kitchen Shears & Multipurpose Kitchen Scissors for Meat, Chicken, Fish & Vegetables, High Carbon Stainless Steel, Safety Lock, Dishwasher Safe |
|
| 6 | WÜSTHOF Come Apart Kitchen Shears |
|
| 7 | Gisde Heavy Duty Poultry Shears Kitchen Shears for Food Kitchen Scissors All Ppurpose Heavy Duty Scissors for Chicken, Meat, Bone, Poultry, Spring Loaded, Dishwasher Safe |
|
| 8 | MAD SHARK Professional Heavy Duty Poultry Shears - Kitchen Shears for Spatchcocking Chicken and Meat Cutting, Multi-Purpose Kitchen Scissors for Food, Spring-loaded (Red) |
|
| 9 | DRAGON RIOT Heavy Duty Poultry Shears - A Must Have Kitchen Shears for Chicken and Meat Cutting - Dishwasher Safe and Stainless Food Kitchen Scissors for Thanksgiving |
|
| 10 | HENCKELS Kitchen Shears for Poultry, Dishwasher Safe, Heavy Duty, Stainless Steel 4-Inch |
|
Shears, like any mechanical tool, are subject to wear and tear. Over time, the pivot mechanism, which is the heart of their functionality, can gradually loosen. This is often due to constant opening and closing, which subtly expands the screw threads or the housing over countless repetitions. Accumulation of debris, sap, hair, or food particles can also interfere with the smooth movement of the blades, eventually leading to a sensation of looseness or stiffness as the pivot tries to compensate. Furthermore, a lack of lubrication can exacerbate friction, contributing to the pivot screw’s tendency to back out or wear down its housing.
Identifying a Loose Shear
Recognizing when your shears need tightening is the first step toward a fix. The most obvious sign is a noticeable wobble or excessive play between the blades when held open. Instead of a smooth, solid feel, you might sense the blades shifting independently. In terms of performance, loose shears will struggle to make clean, crisp cuts. They might bend, fold, or tear material rather than slicing through it cleanly. For smaller shears, like those used for hair or fine work, a simple “drop test” can be telling: hold one handle horizontally and let the other blade drop. If it closes completely with a clatter, it’s likely too loose. Ideally, it should remain open or close slowly with slight resistance.
Essential Tools for Tightening Your Shears
Before you begin, gather the right tools. The specific tool you need depends on the type of pivot screw your shears possess. Common options include:
- Screwdrivers: A standard Phillips head or flathead screwdriver is suitable for many common shear screws. Ensure it’s the correct size to prevent stripping the screw head.
- Tension Adjustment Keys: Many specialized shears, especially high-end hair shears, come with a dedicated tension key. These are designed to precisely fit the unique grooves or internal mechanisms of their pivot screws.
- Wrenches or Pliers: For heavy-duty shears like pruning shears, garden snips, or some kitchen shears, the pivot might be a bolt and nut assembly requiring a wrench or pliers for adjustment. Be gentle to avoid over-tightening or damaging the pivot.
- Scissor Pliers: A specialized tool used by sharpeners and stylists, scissor pliers offer a secure grip for adjusting slotted screws without slipping.
- Lubricant: A light machine oil, scissor oil, or even a product like WD-40, is crucial for post-tightening lubrication to ensure smooth operation and prevent rust.
- Cleaning Supplies: A stiff brush (like an old toothbrush), soapy water, and rubbing alcohol will help remove any gunk before adjustment.
Types of Pivot Screws and How to Tighten Them
Shears typically feature one of three main pivot screw types, each with its own adjustment method:
| Screw Type | Description | How to Tighten |
|---|---|---|
| Regular Screw | A standard screw head (Phillips or flathead) visible at the pivot point. Common on many household, craft, and some kitchen shears. | Use the appropriately sized screwdriver. Turn clockwise in small increments (e.g., quarter-turns). Test tension after each adjustment. |
| Thumb-Nut Adjustable Screw | Features a textured knob or nut that protrudes from the pivot, designed for easy finger adjustment. Popular on many hair shears and some gardening tools. | Simply turn the thumb-nut clockwise with your fingers. If stiff, gentle use of pliers might be needed, but be careful not to damage the knurling. |
| Special Tension / UFO / Tamper-Proof Screw | These screws often have unique shapes (e.g., internal star, pin-in-hole) that require a specific manufacturer-provided tension adjustment key or a specialized spanner bit. Prevents accidental over-tightening. | Locate the correct tension key or spanner bit. Insert it firmly and turn clockwise in very small, controlled increments. These systems often provide tactile “clicks” for precise adjustments. |
| Riveted Pivots | Instead of a screw, the blades are joined by a riveted pin. These are not designed for screw-based adjustment. Found on older or very basic shears. | While not a “tightening” in the traditional sense, a professional can sometimes re-peen the rivet using a brass hammer and nail punch on a hard surface to reduce play. This requires careful technique. |
Step-by-Step Guide to Tightening Loose Shears
Follow these steps carefully to restore your shears to optimal tension:
-
Clean the Shears Thoroughly: Before making any adjustments, ensure your shears are spotless. Use a stiff brush and soapy water to remove any dirt, sap, hair, or food residue. For stubborn grime, a little rubbing alcohol can work wonders. Dry them completely with a clean cloth. Any debris left in the pivot can prevent proper tensioning and cause future issues.
-
Identify the Screw Type and Gather Tools: Examine the pivot point of your shears to determine the type of screw. Select the correct tool – whether it’s a screwdriver, tension key, wrench, or pliers. Using the wrong tool can strip the screw head, making future adjustments impossible.
-
Adjust the Pivot Screw:
- Place the appropriate tool firmly into the screw head or around the nut.
- Turn the screw clockwise to tighten.
- Make very small adjustments, typically a quarter-turn or even a 1/16-inch increment for specialized screws. Over-tightening can cause excessive friction, damage the blades, or make the shears too stiff to use.
-
Test the Tension: After each small adjustment, test the shears.
- Open and close them fully several times to distribute the tension.
- Check for blade wobble. It should be significantly reduced or eliminated.
- Perform the “drop test” if applicable, or simply feel for smooth, firm resistance when opening and closing. The blades should glide past each other without binding or feeling excessively loose. You want a sweet spot where they move freely but with no unwanted play.
-
Lubricate the Pivot Point: Once you’ve achieved the desired tension, apply a small drop of appropriate lubricant to the pivot point. Open and close the shears several times to allow the oil to penetrate the mechanism. This reduces friction, prevents rust, and ensures smooth operation, extending the life of your shears.
What if the Screw Won’t Hold?
Occasionally, a pivot screw might be so worn that it no longer holds tension effectively. This is a common issue, particularly with older or heavily used shears.
“A stubborn pivot screw doesn’t always mean the end for your favorite shears. Often, a small intervention can restore its grip and keep your tools cutting effectively.” – Alex Chen, Master Bladesmith and Tool Restorer
In such cases, you have a few options:
- Thread Sealant (Loctite Blue): A drop of medium-strength (blue) threadlocker can help secure the screw. It holds the screw in place but still allows for future adjustments.
- Roughening the Threads: Carefully and gently roughen the screw threads with very fine sandpaper or a file. This can create a tighter fit.
- Adding Material: For minor looseness, a thin strip of Teflon tape wrapped around the screw threads, a piece of dental floss, or even a tiny sliver of a rubber band inserted into the screw hole can provide enough friction to hold the screw in place.
- Replacing the Screw: If the screw is severely stripped or damaged, the most reliable solution is to replace it. Many hardware stores carry assorted screws, or you may need to order a replacement from the shear manufacturer.
Maintaining Optimal Shear Tension
Consistent maintenance goes a long way in preventing your shears from becoming loose in the first place. Make it a habit to:
- Clean Regularly: After each use, especially for kitchen or gardening shears, clean the blades and pivot area to prevent buildup.
- Lubricate Routinely: Apply a drop of appropriate oil to the pivot point every few weeks or months, depending on usage.
- Proper Storage: Store your shears in a dry place, ideally with the blades closed and secured, to protect the pivot and prevent accidental damage.
Conclusion
A pair of loose shears can be a source of frustration and inefficiency, but it’s a problem that’s often easily remedied with a few simple steps. By understanding the different types of pivot screws, using the correct tools, and applying a methodical approach to adjustment, you can quickly restore your shears to optimal working condition. Regular cleaning and lubrication will ensure they remain a reliable tool in your arsenal for years to come, consistently delivering the precise, clean cuts you depend on. Don’t let a minor wobble derail your work—take a moment to give your shears the care they deserve and experience the difference optimal tension makes.
What kind of shears do you find yourself adjusting the most often, and what’s your go-to tool for the job?
Frequently Asked Questions
How often should I tighten my shears?
The frequency depends on usage and shear type. Heavily used shears, like professional hair shears or gardening pruners, might need checking every few weeks or months. For occasional-use household or kitchen shears, a check every six months to a year might suffice. Always adjust them as soon as you notice any looseness or compromised cutting performance.
Can I use any oil to lubricate my shears?
It’s best to use a light machine oil, specialized scissor oil, or mineral oil. Avoid heavy greases or oils that can attract dust and debris, or cooking oils that can become gummy or rancid over time. A small amount goes a long way to ensure smooth movement and rust prevention at the pivot point.
What happens if I overtighten my shears?
Overtightening can cause excessive friction between the blades, making them stiff and difficult to open and close. This added stress can prematurely wear down the pivot mechanism, cause the blades to bind, or even lead to warping. It can also make precise cutting uncomfortable and lead to hand fatigue. Always tighten in small increments and test for smooth, unrestricted movement.