Imagine a chicken that cooks faster, stays incredibly juicy, and boasts uniformly crispy skin every single time. This isn’t a culinary myth; it’s the magic of spatchcocking, a simple technique that transforms your whole bird. While it might sound intimidating, with the right tool – a sturdy pair of poultry shears – it becomes remarkably easy, even for home cooks. This guide will walk you through everything you need to know to master spatchcocking, ensuring your next chicken dinner is nothing short of spectacular.
Why Spatchcock Your Chicken?
|
Our Picks for the Best Poultry shears in 2026
As an Amazon Associate I earn from qualifying purchases.
|
||
| Num | Product | Action |
|---|---|---|
| 1 | KitchenAid All Purpose Kitchen Shears with Protective Sheath Durable Stainless Steel Scissors, Dishwasher Safe, Soft Grip Comfort Handle, 8.72 Inch, Black |

|
| 2 | Poultry Shears, Heavy Duty Kitchen Shears With Anti-Slip Handle & Safety Lock, Poultry Scissors for Meat, Chicken, Bone,Turkey, Fish, Spring Loaded, Dishwasher Safe |
|
| 3 | OXO Good Grips Spring-Loaded Poultry Shears, Black |
|
| 4 | WÜSTHOF Come Apart Kitchen Shears |
|
| 5 | DRAGON RIOT Heavy Duty Poultry Shears - A Must Have Kitchen Shears for Chicken and Meat Cutting - Dishwasher Safe and Stainless Food Kitchen Scissors for Thanksgiving |
|
| 6 | HUUSK Kitchen Scissors All Purpose - Stainless Steel Kitchen Shear, Sharp Silver Meat Scissors Dishwasher Safe, Heavy Duty Poultry Shears, Japanese Cooking Scissor for Food, Christmas Gifts for Women |
|
| 7 | HENCKELS Kitchen Shears for Poultry, Dishwasher Safe, Heavy Duty, Stainless Steel 4-Inch |
|
| 8 | Gisde Heavy Duty Poultry Shears Kitchen Shears for Food Kitchen Scissors All Ppurpose Heavy Duty Scissors for Chicken, Meat, Bone, Poultry, Spring Loaded, Dishwasher Safe |
|
| 9 | MAD SHARK Professional Heavy Duty Poultry Shears - Kitchen Shears for Spatchcocking Chicken and Meat Cutting, Multi-Purpose Kitchen Scissors for Food, Spring-loaded (Red) |
|
| 10 | Poultry Shears – Heavy Duty Kitchen Shears & Multipurpose Kitchen Scissors for Meat, Chicken, Fish & Vegetables, High Carbon Stainless Steel, Safety Lock, Dishwasher Safe |
|
Spatchcocking, also known as butterflying, involves removing the backbone of a chicken and flattening it. This seemingly small alteration offers significant benefits that elevate your cooking results.
Faster Cooking: A flattened chicken has a more uniform thickness, allowing heat to penetrate more efficiently. This can dramatically reduce cooking time, often by 15 minutes or more, making it perfect for weeknight meals.
Even Cooking: One of the most common challenges with roasting a whole chicken is that the breast meat tends to dry out before the dark meat (thighs and drumsticks) is fully cooked. Spatchcocking ensures that all parts of the bird cook at a more consistent rate, leading to perfectly tender and juicy meat throughout.
Crispier Skin: With the chicken laid flat, more surface area of the skin is directly exposed to the heat. This results in an irresistibly golden-brown and crispy skin that everyone loves, from the breast to the thighs.
Enhanced Flavor & Seasoning: The increased exposed surface area isn’t just for crispiness; it also means more room for your favorite seasonings and marinades to adhere. This allows flavors to penetrate the meat more deeply, ensuring every bite is packed with taste.
Choosing the Right Tools for the Job
While the technique itself is straightforward, having the proper equipment makes all the difference.
A Whole Chicken: Opt for a fresh, whole chicken, ideally between 3 to 4 pounds, for easier handling, though the technique works for larger birds and even turkeys too.
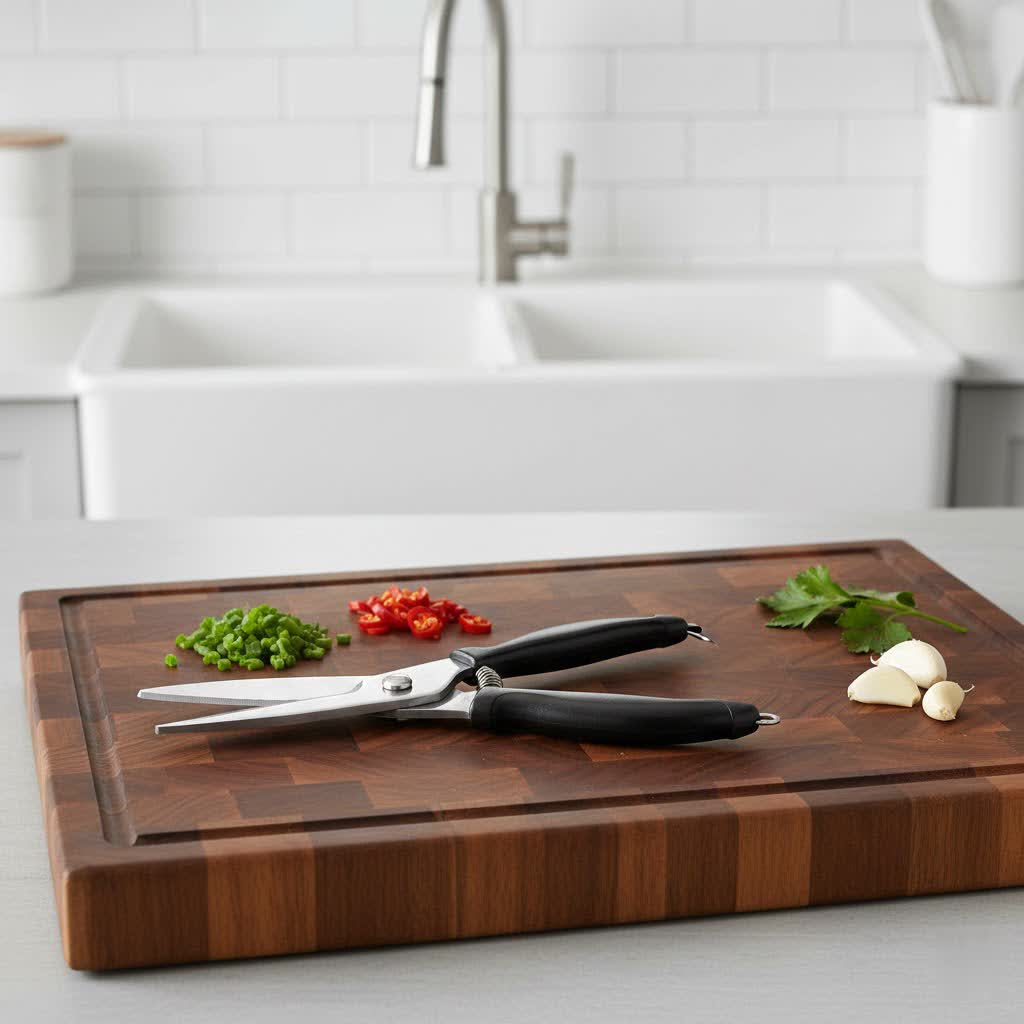
Essential: High-Quality Poultry Shears: This is your most crucial tool. Unlike regular kitchen scissors, poultry shears are specifically designed to cut through bone and cartilage with ease and precision. When selecting poultry shears, look for these features:
- Sharp, Stainless Steel Blades: Essential for making clean cuts through bone without slipping or struggling. Stainless steel also ensures durability and rust resistance.
- Comfortable, Ergonomic Grip: You’ll be applying significant pressure, so a comfortable handle that fits well in your hand is key to preventing strain.
- Spring-Loaded Mechanism: Many top-tier shears feature a spring that helps open the blades after each cut, reducing hand fatigue.
- Safety Lock: A mechanism to keep the blades closed when not in use is vital for safe storage.
- Ease of Cleaning: Models that can be disassembled or are dishwasher safe simplify cleanup after handling raw poultry.
Optional but Helpful:
- Large Cutting Board or Work Surface: Provides a stable and sanitary area for preparation.
- Paper Towels: For patting the chicken dry, which is crucial for crispy skin.
- Meat Thermometer: The only way to truly guarantee your chicken is cooked to a safe internal temperature (165°F or 74°C).
Step-by-Step Guide: Spatchcocking a Chicken with Shears
Ready to transform your chicken? Follow these simple steps for a perfectly spatchcocked bird.
- Preparation: Remove the chicken from its packaging. Pat it thoroughly dry with paper towels, both inside and out. This step is vital for achieving that coveted crispy skin. Place the chicken breast-side down on your cutting board.
- Locate the Backbone: Position the chicken so the neck end is away from you. You’ll see two prominent lines of bones running down either side of the spine. These are your target cutting lines.
- Make the First Cut: Starting at the tail end, position your poultry shears alongside one side of the backbone. With firm, determined cuts, snip all the way up the length of the backbone, severing the ribs and cartilage. Don’t be afraid to apply pressure; good shears are designed for this. You might hear some cracking as you go through the bone.
- Repeat on the Second Side: Once you’ve cut along one side, rotate the chicken 180 degrees or flip it over, then repeat the process on the other side of the backbone. Cut all the way down until the backbone is completely detached.
- Remove the Backbone: Gently lift and remove the backbone. You can discard it, or better yet, save it for making flavorful chicken stock.
- Flatten the Bird: Flip the chicken breast-side up. Place both hands firmly over the breastbone where the two breasts meet. Press down hard with the heel of your hands until you hear a crack. This breaks the breastbone and allows the chicken to lay completely flat.
- Final Touch (Tuck Wings): For a neater presentation and to prevent the wing tips from burning, you can tuck them underneath the breast.
Top Poultry Shears for Effortless Spatchcocking
Choosing the right shears can significantly impact your spatchcocking experience. Here’s a comparison of some highly-regarded options known for their performance and durability.
| Brand | Key Advantages | Considerations |
|---|---|---|
| OXO Good Grips | Ergonomic, comfortable non-slip grip; strong, sharp blades; safety lock; often come apart for easy cleaning. | Excellent all-around performance for most home cooks. |
| J.A. Henckels International | Durable, robust construction; excellent cutting power; good for frequent use. | May require a bit more hand strength. |
| Wüsthof | Exceptional sharpness and German-engineered quality; very durable stainless steel; a long-term investment. | Higher price point; may be heavier than other models. |
| Kuhn Rikon | Innovative spring-loaded action for effortless cutting; comfortable handles; often includes herb stripper. | Specific design might not appeal to all users. |
| Cuisinart Stainless Steel | Sturdy, reliable performance at an affordable price; good value for money. | Might not have the same ergonomic refinements as premium brands. |
Tips for a Perfect Spatchcocked Chicken
To ensure your spatchcocked chicken turns out perfectly every time, keep these expert tips in mind:
- Ensure Your Shears Are Sharp: A dull pair of shears will make the job much harder and potentially less safe. Invest in a good pair and keep them sharp.
- Don’t Be Shy When Flattening: You need to apply significant force to crack the breastbone. Don’t be afraid to put your weight into it to ensure the chicken lies completely flat.
- Pat Dry for Ultimate Crispiness: As mentioned, drying the chicken thoroughly before seasoning and cooking is crucial for achieving that desirable crispy skin.
- Season Generously: With more surface area exposed, this is your chance to infuse maximum flavor. Don’t hold back on your favorite herbs, spices, and rubs.
- Monitor Internal Temperature: Always use a meat thermometer inserted into the thickest part of the thigh (avoiding the bone) to confirm the chicken has reached 165°F (74°C). This ensures safety and optimal doneness.
Conclusion: Your Gateway to Culinary Confidence
Spatchcocking a chicken using poultry shears is a game-changer for anyone seeking a more efficient, flavorful, and consistently perfect roast. By simply removing the backbone and flattening the bird, you unlock benefits like faster cooking times, incredibly even doneness, and skin that crisps up beautifully across the entire chicken. With the right pair of poultry shears in hand and a few confident cuts, you’ll be amazed at how easily you can achieve restaurant-quality results in your own kitchen. Why settle for less when a superior roasted chicken is just a few snips away?
Frequently Asked Questions
What exactly is spatchcocking a chicken?
Spatchcocking is a cooking technique where you remove the backbone of a whole chicken (or other poultry) and then press the bird flat. This “butterflied” shape allows the chicken to cook more evenly and in less time than a traditional whole roast chicken, and also promotes crispier skin.
How much cooking time does spatchcocking save?
Spatchcocking can significantly reduce cooking time. A typical whole chicken that might take 1 to 1.5 hours to roast can often be spatchcocked and cooked in as little as 35-50 minutes, depending on its size and your oven temperature.
Can I spatchcock other types of poultry besides chicken?
Yes, the spatchcocking technique can be applied to other poultry like turkeys, Cornish hens, and even ducks. The process is similar, though larger birds like turkeys will require more robust shears and more effort to cut through thicker bones.
What can I do with the chicken backbone once it’s removed?
Don’t throw it away! The removed backbone, along with the neck and giblets (if included), is excellent for making flavorful homemade chicken stock. Simply simmer it with some vegetables and herbs to create a rich base for soups, sauces, or gravies.